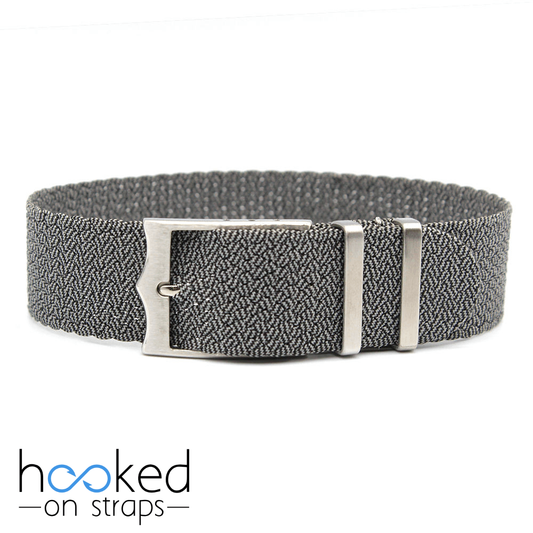
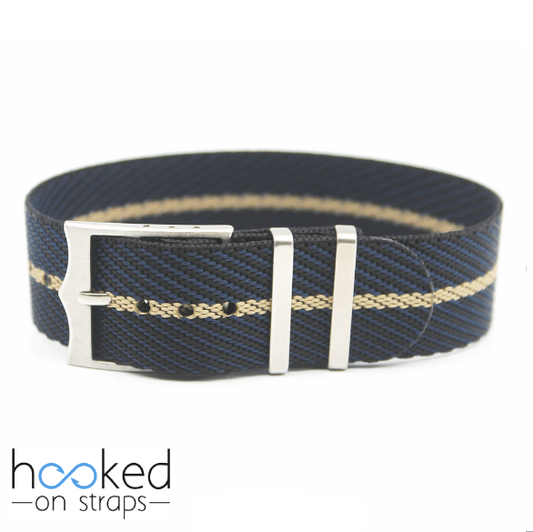
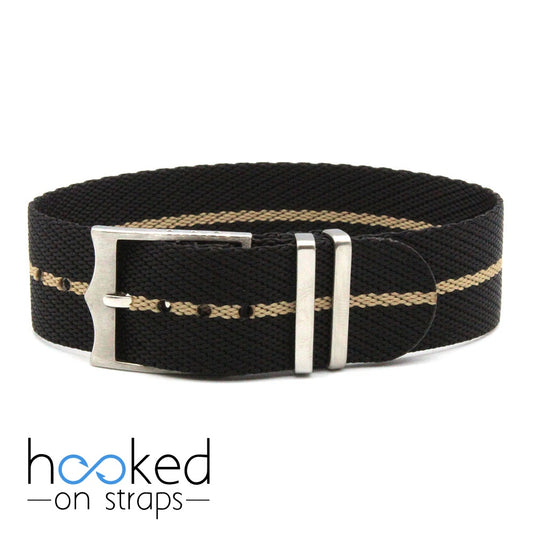
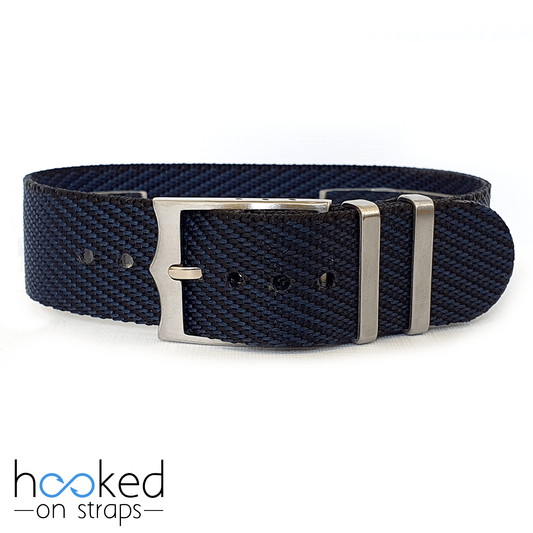
Nato straps are a popular choice among watch enthusiasts due to their durability, versatility, and ease of use. Among them, single-pass adjustable straps stand out for their slim profile and adjustable design, allowing for a customized fit without adding bulk. This guide will help you install a single-pass adjustable strap on your watch.

Step-by-Step Guide to Install the Single Pass Nato Strap
Tools You'll Need
Before you begin, gather the following tools to ensure a smooth strap replacement:
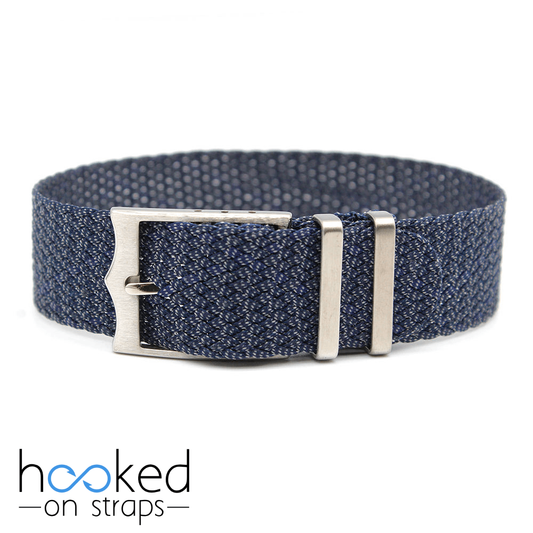
- Adjustable Single Pass Strap: Ensure you have the correct width for your watch's lug size.
- A watch with spring bars (the metal rods that hold the strap in place).
Step 1: Install the Adjustable Single Pass Strap
- Insert the Strap: Take the strap and thread it through one set of lugs from the top side of the watch case. Make sure the adjustable buckle or fastener is on the opposite side of the watch.
- Thread the Strap Under the Spring Bars: Unlike traditional nato straps, a single-pass strap does not loop back over itself. After threading it through one lug, pass it under the case and through the opposite lug. The strap should be flat against the back of the watch.
Step 2: Adjust the Fit
- Find the Right Length: You'll need to adjust the strap's length to your wrist size. This is so you won't need to tuck in the excess in the keeper and won't have the "bulk" of a traditional nato.

With the single-pass adjustable strap installed and adjusted, your watch is ready to wear. This type of strap is great for those who prefer a simple, streamlined look without extra bulk. It's also easy to swap out, making it perfect for changing up your style.
Now that you've successfully installed a single-pass adjustable strap, you can enjoy the flexibility and comfort it brings to your watch-wearing experience.